How to use Cloudflare R2 for Image storage in your Nextjs Application.

How hard could it be -- I'll just store my images on a directory in my project folder , Oh lets use public folder since its easy access for my assets , and then you realize that the public folder is only available at build time , not during runtime .
Oh since its not working this way lets ask gpt, Oh I can create a folder outside the public folder and then setup a different api route to access the image files , and then you go on building and writing some spaghetti code that fails on production.
" Yes We've all been there "
Well to avoid all this Headache , LET ME COOK A SOLUTION FOR YOU !!!

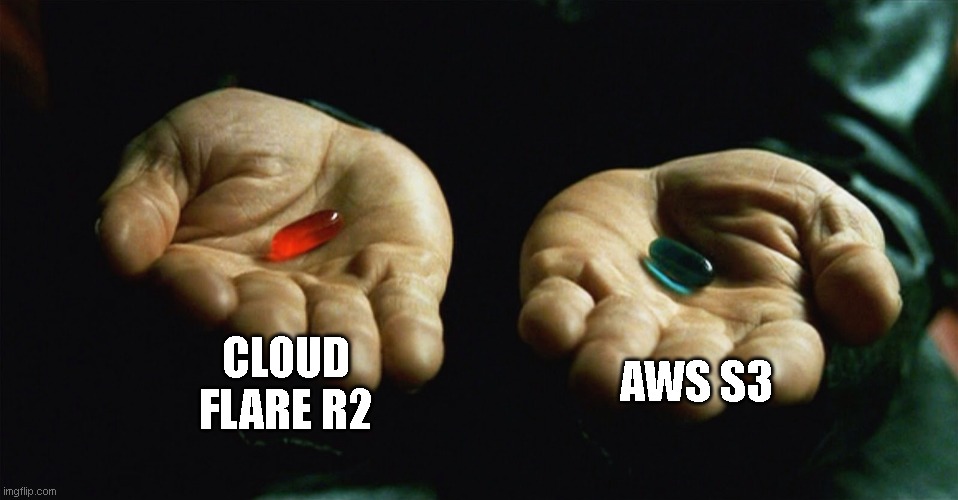
CloudFlare R2 or AWS S3
The choice is Yours ,
I will explain how to use cloudflare R2 in this article , But you can pick your poison yourself,
I choose R2 since it is easy to setup , quite cheap and your have 10GB / month free object storage on R2,
I am assuming that you have the basic Nextjs project setup already, i will only explain the image uploading part in this article
First of all, Go ahead and create an account on Cloudflare , sell them your soul and move on ...( i meant to put in the credit card details and etc. ) and then add cloudflare R2 object storage into your plan , you can navigate there from the menu on the left on the dashboard, or simply search R2.
- Navigate to R2 > Create Bucket
- Name the bucket and note the Bucket Name, Account ID, and Access Keys (Access key id and secret access key )
- After that click on your bucket and from settings enable Public development url to acess your assets via a public url.
//.env file
R2_ACCESS_KEY_ID=your-access-key-id
R2_SECRET_ACCESS_KEY=your-secret-access-key
R2_BUCKET_NAME=your-bucket-name
R2_ACCOUNT_ID=your-account-id
R2_PUBLIC_DOMAIN=your-public-domain.r2.dev
R2_ENDPOINT=https://your_s3_api.r2.cloudflarestorage.com/your-bucket-name
These are the contents that you need from cloudflare ( Copy them carefully , they should be exact )
After that i will encourage you to create a separate file to set up a S3 client so we can access it from anywhere , it can be inside your lib or utility folder . Paste the following
// /lib/r2.ts

import { S3Client } from "@aws-sdk/client-s3";

export const r2 = new S3Client({
  region: "auto",
  endpoint: `https://${process.env.R2_ACCOUNT_ID}.r2.cloudflarestorage.com`,
  credentials: {
    accessKeyId: process.env.R2_ACCESS_KEY_ID!,
    secretAccessKey: process.env.R2_SECRET_ACCESS_KEY!,
  },
});
Now inside your Api folder wherever you want to upload the image from
import { PutObjectCommand } from "@aws-sdk/client-s3";
import sharp from "sharp";
import { r2 } from "@/lib/r2";

const arrayBuffer = await file.arrayBuffer();
const buffer = Buffer.from(arrayBuffer);

const optimized = await sharp(buffer).webp({ quality: 90 }).toBuffer();
const fileName = `images/${Date.now()}-${file.name}.webp`;

await r2.send(
  new PutObjectCommand({
    Bucket: process.env.R2_BUCKET_NAME!,
    Key: fileName,
    Body: optimized,
    ContentType: "image/webp",
  })
);

const imageUrl = `https://${process.env.R2_PUBLIC_DOMAIN}/${fileName}`;
I have created a buffer and then optimized it via converting into a webp file , which is a step you can skip ,
then storing the file in the bucket prefixing it with a unique name and then , creating a url that you can access from anywhere store in database , use in an image tag ,
Here's a small snippet for deleting the files-
import { DeleteObjectCommand } from "@aws-sdk/client-s3";

await r2.send(
  new DeleteObjectCommand({
    Bucket: process.env.R2_BUCKET_NAME!,
    Key: fileName, // e.g., "images/123-image.webp"
  })
);
There your go , its only this much effort and Now you can , Store your images on R2 and use them however you want , and its not limited to image files , you can store any asset here .
Tune in for more :)
Thanks for reading